Send Notifications from n8n Self-Hosted
Learn how to send push notifications to your phone from n8n self-hosted.
Pushinator is a powerful push notification service that allows you to send real-time updates to iPhone, iPad, and Android devices. In this guide, we will show how to send Pushinator notifications from an n8n self-hosted instance.
Integration name: n8n-nodes-pushinator
Set up your notification channel and devices
First, log in to the Pushinator Console and create a channel (e.g., "n8n Alerts"). Obtain an API token and save it for later use (it will be your main credential in Pushinator n8n node).
Install the Pushinator app from the App Store or Google Play on your devices. Use the app to scan your channel’s QR code and subscribe your devices to notifications.
Using n8n Cloud?
Refer to this official n8n guide to install the Pushinator node in you n8n Cloud instance and skip the next step. The rest of the guide will still be relevant for you.
Install the Pushinator n8n node
Follow the official n8n guide for installing community nodes from the GUI or from the command line to install the Pushinator node in your self-hosted n8n instance.
Replace n8n-nodes-nodeName with n8n-nodes-pushinator when installing our node, for example when installing from the command line:
npm install n8n-nodes-pushinatorUse the Pushinator node
After installing the Pushinator node, open your workflow, click the plus icon, and search for Pushinator.
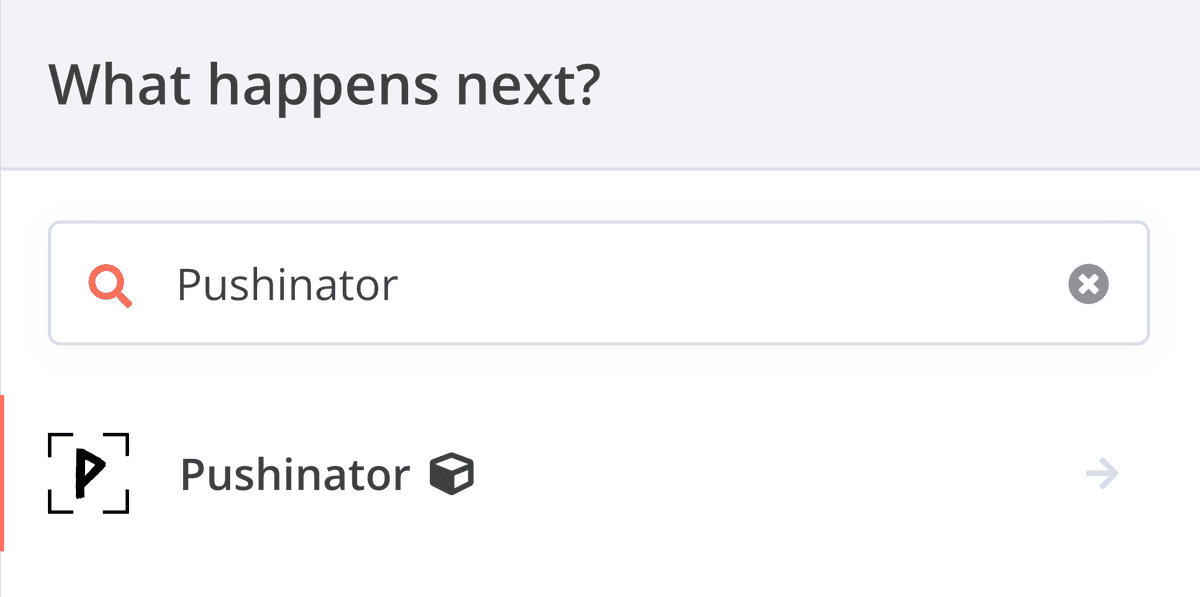
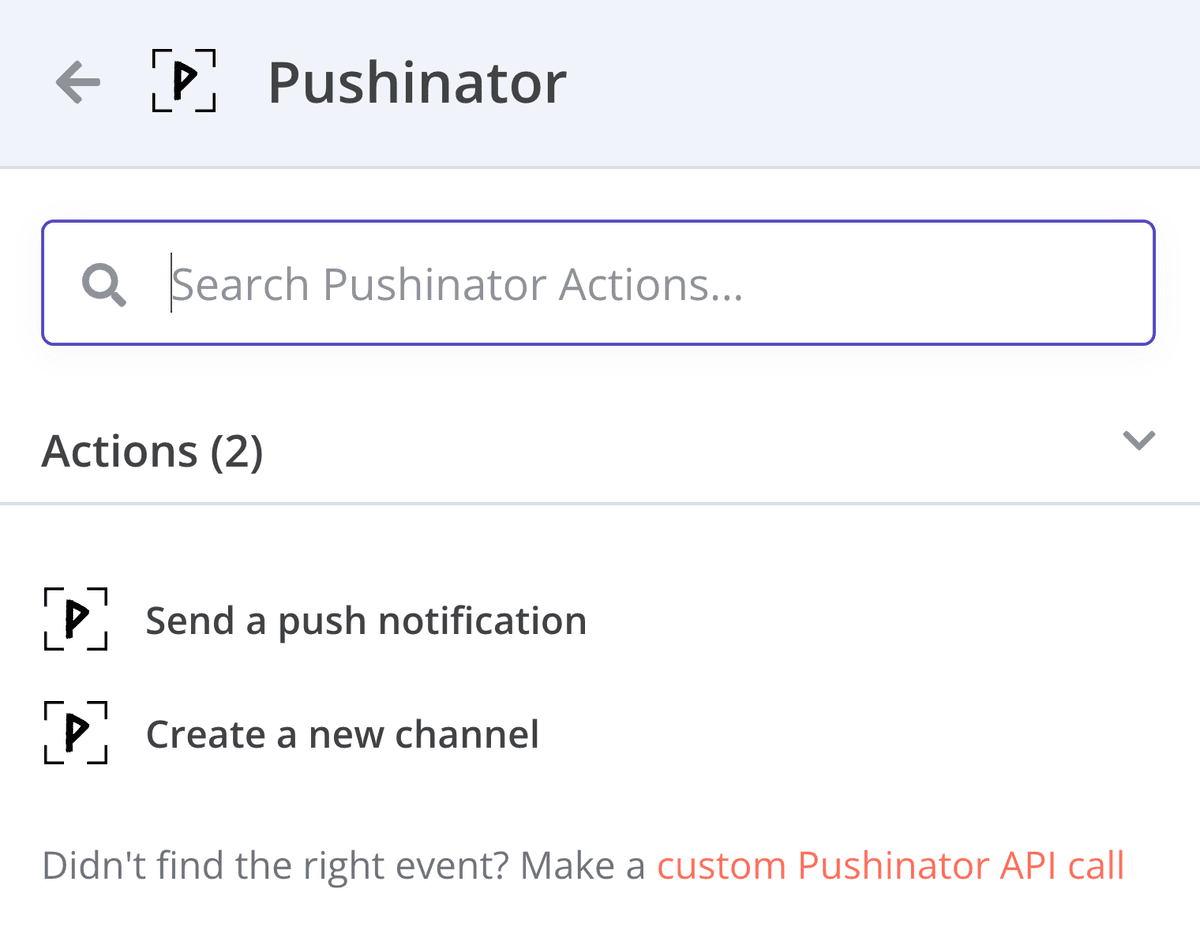
When you click the node, n8n will immediately ask you to choose your action. You can pick either Send a push notification or Create a new channel.
Once you pick your action, the configuration panel opens up and if it is your first time using the node, you will need to connect your Pushinator account. Click "Select credential" -> "Create new credential" and paste the API token you saved earlier.
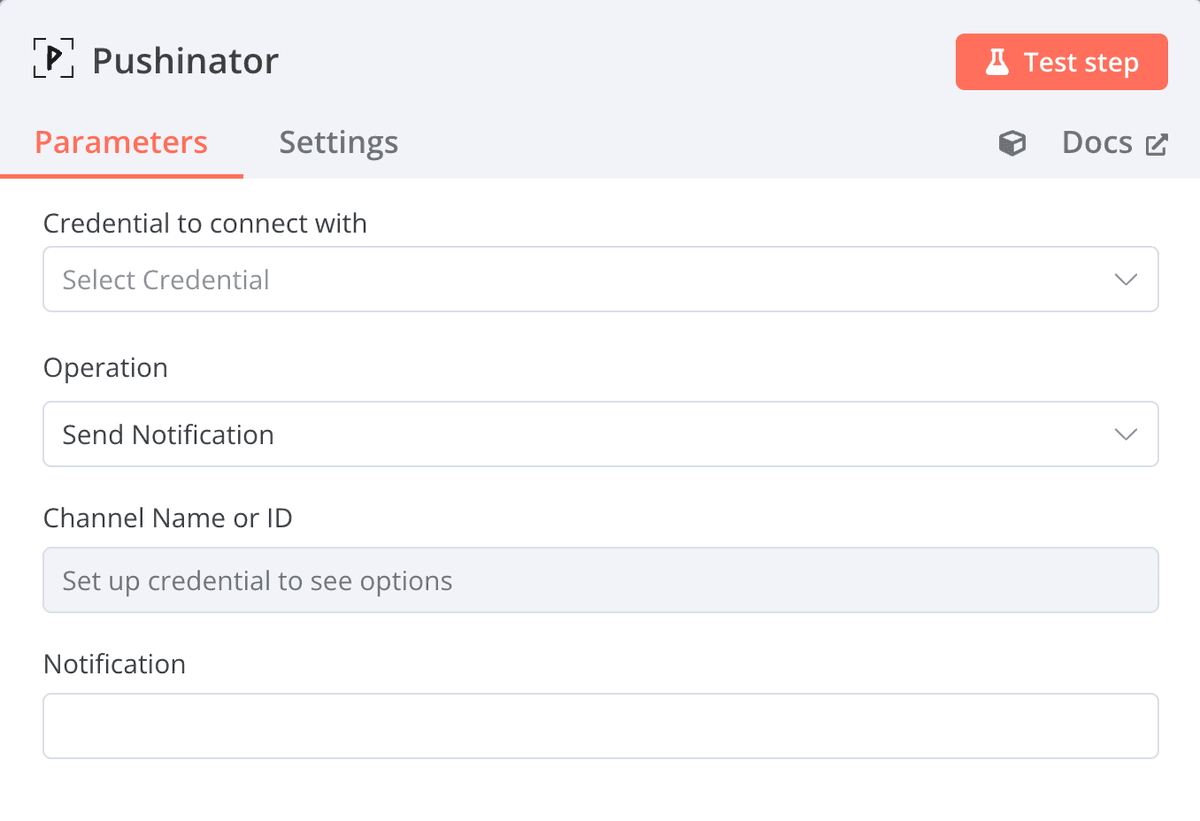
If the token is correct, you will see the success badge:

Send a push notification
If you choose to send a notification, you will need to fill out the “Channel Name or ID” field. It automatically retrieves your active channels, letting you pick one straight from the list.
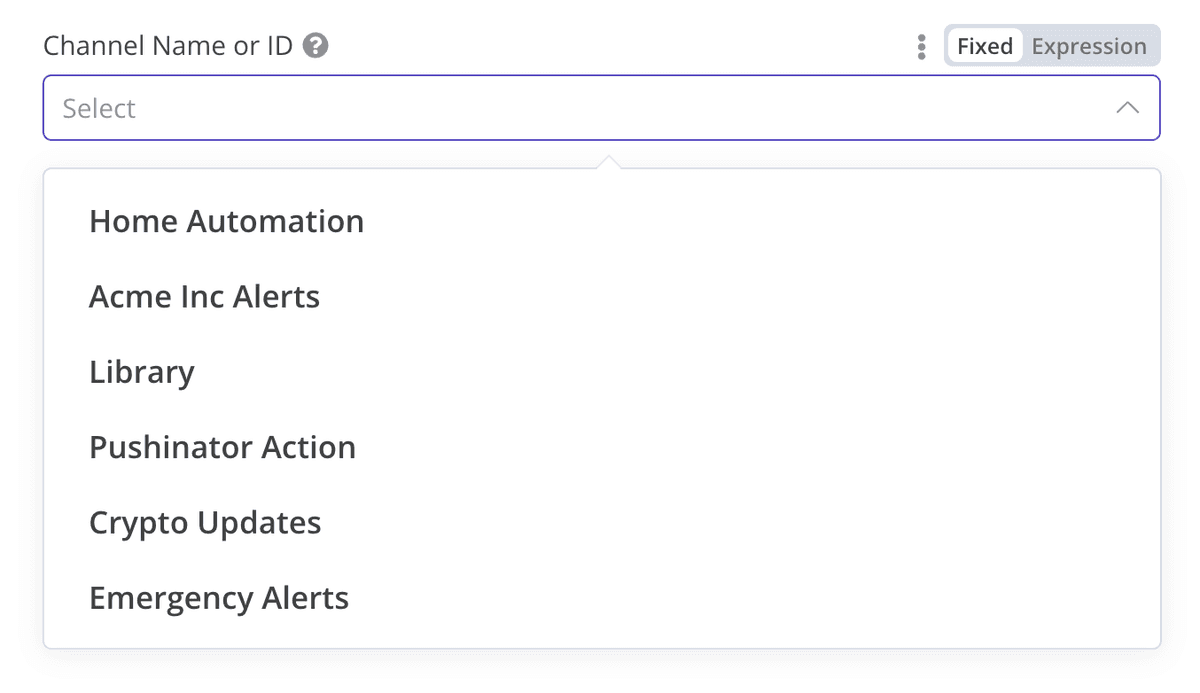
From there, just add the notification text and your workflow is ready to deploy.
Create a new channel
If you choose to create a channel, you can provision new destinations programmatically right inside your execution flow instead of going into the console dashboard.
Provide a dynamic Channel Name (1 to 64 characters) and an optional Description (up to 255 characters). The node spins up the new channel on your account and feeds the resulting channel metadata back into your workflow to use in later steps.
Need help?
Drop us a message at [email protected], and we will try our best to assist you. Feel free to request a feature or integration, or let us know if there are any issues on our side.